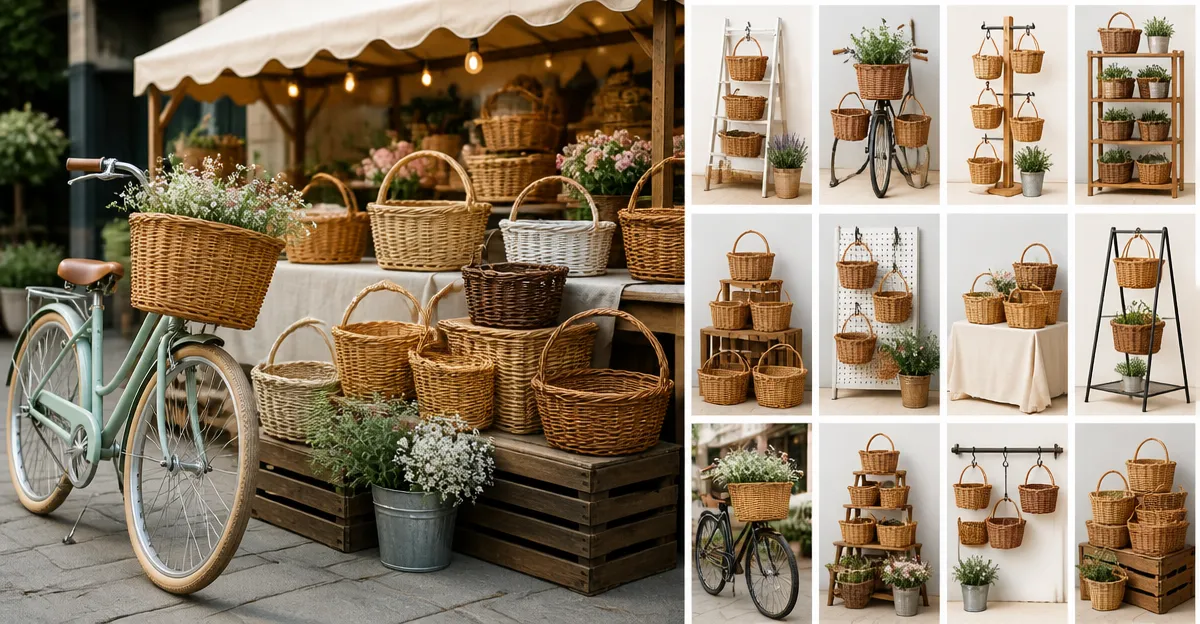
How to Display Bike Baskets at Markets: 12 Creative Retail Display Ideas to Boost Sales
Retailers who sell bike accessories often struggle to capture the attention of cyclists who browse bustling market stalls. This guide explains twelve proven display concepts that transform ordinary tables into compelling showcases. One will learn how to arrange products, use visual storytelling, and incorporate practical tools such as the Lunies Folding Rear Bike Basket and the Folding Front Wire Bike Basket. By following each step, one can increase dwell time, improve perceived value, and ultimately boost sales.
What You’ll Need
- Two sturdy display tables (minimum 30×60 inches)
- Tablecloths in neutral or brand colors
- Portable signage (chalkboard or printed)
- Lighting fixtures such as clip‑on LED lamps
- Secure mounting brackets for hanging accessories
- Product‑specific tools: Lunies Folding Rear Bike Basket and Folding Front Wire Bike Basket
- Cleaning wipes, zip ties, and decorative props (planters, bike parts)
Step 1: Define a Visual Theme
A cohesive visual theme guides the shopper’s eye and creates an emotional connection. One should select a theme that matches the season or local culture, such as "Urban Commuter" for city markets or "Eco‑Friendly Adventure" for outdoor festivals. Use colors that complement the baskets: matte black for the Lunies model and brushed steel for the Tfwadmx front basket. Consistent theming reduces visual clutter and signals professionalism.
Step 2: Prepare the Display Surface
Begin by laying a clean, wrinkle‑free tablecloth that reflects the chosen theme. For a modern look, a charcoal‑gray cloth works well with the black‑coated Lunies basket, while a reclaimed‑wood runner enhances the rustic feel of the front wire basket. Secure the cloth with non‑slip pads to prevent shifting during high foot traffic. This preparation ensures that the baskets remain the focal point rather than the table itself.
Step 3: Position the Baskets Strategically
Place the larger rear basket at the back of the table to act as a backdrop, and position the front wire basket toward the front edge where shoppers can easily reach it. The Lunies Folding Rear Bike Basket offers a 56‑lb (26 kg) capacity, waterproof liner, and a foldable profile that measures only 2 inches when collapsed. Its robust steel wire construction and reflective cover make it ideal for demonstrating durability. The Folding Front Wire Bike Basket, with an 80‑lb capacity, heavy‑duty steel wire, and quick‑install clamps, showcases versatility for front‑mount applications. By arranging the baskets in a tiered fashion, one creates depth and invites hands‑on interaction.
Step 4: Highlight Key Features with Signage
Use small, removable signs to call out each basket’s standout attributes. For the Lunies basket, a sign could read "56‑lb capacity, waterproof liner, folds to 2 inches." For the front wire basket, a sign might state "80‑lb capacity, anti‑rust steel, tool‑free installation." Include the price ($32.99 for Lunies, $17.09 for the front basket) and rating (4.6/5 from 390 reviews; 4.4/5 from 1,024 reviews) to provide social proof. Position signs at eye level using zip ties or magnetic clips.
Step 5: Create a Live Demonstration Zone
Allocate a small area of the table for a live demo. One can attach the Lunies Rear Basket to a sample bike frame and load it with groceries, a water bottle, and a small pet carrier. Simultaneously, attach the Folding Front Wire Basket to a handlebar and demonstrate the quick‑release mechanism. Demonstrations illustrate the foldable design, waterproof liner, and heavy‑duty clamps, reinforcing the value proposition for potential buyers.
Step 6: Use Lighting to Emphasize Details
Clip‑on LED lights positioned at 45‑degree angles cast soft shadows that accentuate the texture of the steel wire and the sheen of the waterproof cover. Proper lighting reveals the reflective strips on the Lunies liner, which improve safety during night rides. Bright illumination also draws attention from a distance, increasing foot traffic to the stall.
Step 7: Incorporate Interactive Props
Place a few everyday items inside each basket to suggest real‑world usage. For the rear basket, include a reusable grocery bag, a rain‑proof notebook, and a small potted plant. For the front basket, showcase a child’s helmet, a bike lock, and a water bottle. These props help shoppers visualize the baskets in their own lives, thereby increasing purchase intent.
Step 8: Offer a Limited‑Time Bundle
Encourage higher average order value by bundling the two baskets at a discounted rate for a limited period. Highlight the bundle with a bold banner that reads "Market Special: Save 15% when you buy both baskets today!" Mention the combined price ($50.08) and the total rating average (4.5/5). Bundles provide a perceived savings and simplify decision‑making for customers who seek both rear and front storage solutions.
Step 9: Provide Easy Checkout Options
Set up a mobile point‑of‑sale (POS) system with a QR code that links directly to the Amazon product pages. Shoppers can scan the code, review the product details on their phone, and complete the purchase without waiting in line. This approach reduces friction and leverages the existing Amazon reviews to reinforce trust.
Step 10: Collect Customer Feedback On‑Site
Place a short feedback card near the checkout area asking buyers to rate the display and the baskets on a scale of one to five. Offer a small incentive, such as a 5% discount on a future purchase, to increase response rates. Analyzing this feedback helps refine future market displays and identifies which features resonated most with shoppers.
Step 11: Maintain the Display Throughout the Day
Assign a team member to monitor the stall every hour. They should straighten baskets, replace any displaced props, and wipe down surfaces with cleaning wipes. Consistent upkeep ensures that the Lunies basket remains free of dust in its waterproof liner and that the front wire basket retains its polished steel appearance.
Step 12: Capture and Share Visual Content
Take high‑resolution photos of the fully staged display and share them on social media platforms with hashtags such as #BikeMarketDisplay and #BikeBasketSolutions. Tag the brand names Lunies and Tfwadmx Store to increase organic reach. Visual content extends the impact of the market stall beyond the physical location and can attract online sales.
Tips & Pro Tips
- Arrange baskets at varying heights using risers to create a layered look.
- Use scent‑free hand sanitizer stations to keep shoppers comfortable.
- When the market is outdoors, secure the tables with sandbags to prevent wind displacement.
- Consider offering a small repair kit for customers who wish to adjust their own baskets on the spot.
Troubleshooting
Problem: The rear basket does not stay folded during transport.
Solution: Engage the folding springs slowly and ensure the locking latch clicks into place. The strong spring design requires careful handling to avoid finger injury.
Problem: The front basket scratches the handlebars during installation.
Solution: Use the protective plastic tubes that wrap the hooks, as included in the product package, to shield both the handlebars and the basket clamps.
Conclusion
By following these twelve display ideas, one can transform a simple market stall into a high‑impact sales environment. The strategic placement of the Lunies Folding Rear Bike Basket and the Folding Front Wire Bike Basket, combined with thoughtful lighting, signage, and interactive demos, creates a memorable shopping experience. Implement the tips, monitor performance, and continuously iterate to achieve sustained sales growth.
Products Mentioned in This Guide
Lunies Folding Rear Bike Basket
Price: $32.99 | Rating: 4.6/5 (390 reviews)
Key features: 56‑lb capacity, waterproof PU liner with shock‑proof sponge, foldable to 2 inches, reflective cover, anti‑rust steel wire.
Folding Front Wire Bike Basket
Price: $17.09 | Rating: 4.4/5 (1,024 reviews)
Key features: Heavy‑duty steel wire supporting over 80 lb, anti‑rust coating, tool‑free installation, foldable design, protective plastic tubes for handlebars.
Frequently Asked Questions
What are the essential items needed to create an eye‑catching bike basket display at a market?
You need two sturdy tables (30×60" minimum), neutral or brand‑colored tablecloths, portable signage, clip‑on LED lighting, mounting brackets, and the bike baskets themselves.
How can visual storytelling boost sales of bike baskets at a market stall?
By arranging baskets in themed scenes—like a commuter setup or a weekend adventure—you help shoppers envision the product’s use, increasing dwell time and purchase intent.
What is the best way to highlight both front and rear bike baskets together?
Place the rear basket on a lower tier and the front wire basket on a raised platform, using signage to compare their functions and linking them with a short demo or QR code.
How do portable LED lamps improve the effectiveness of a market display?
LED lamps add focused illumination that accentuates product details, makes the display visible in low‑light conditions, and draws attention from nearby stalls.
Can I use a chalkboard sign to promote special offers on bike baskets?
Yes, a chalkboard lets you quickly update prices, bundle deals, or seasonal promos, creating a dynamic and engaging visual cue for shoppers.